Premium and Discount Zones (SMC) Explained
In Smart Money Concepts, premium and discount zones describe where current price sits relative to a defined price range: above the 50% midpoint (equilibrium) is the "premium" zone where price is relatively expensive, and below it is the "discount" zone where price is relatively cheap. The idea, drawn from ICT methodology, is that large institutional orders are easier to fill favorably by buying at a discount and selling at a premium, so traders use these zones as a contextual filter rather than a standalone trigger.
What premium and discount zones actually are
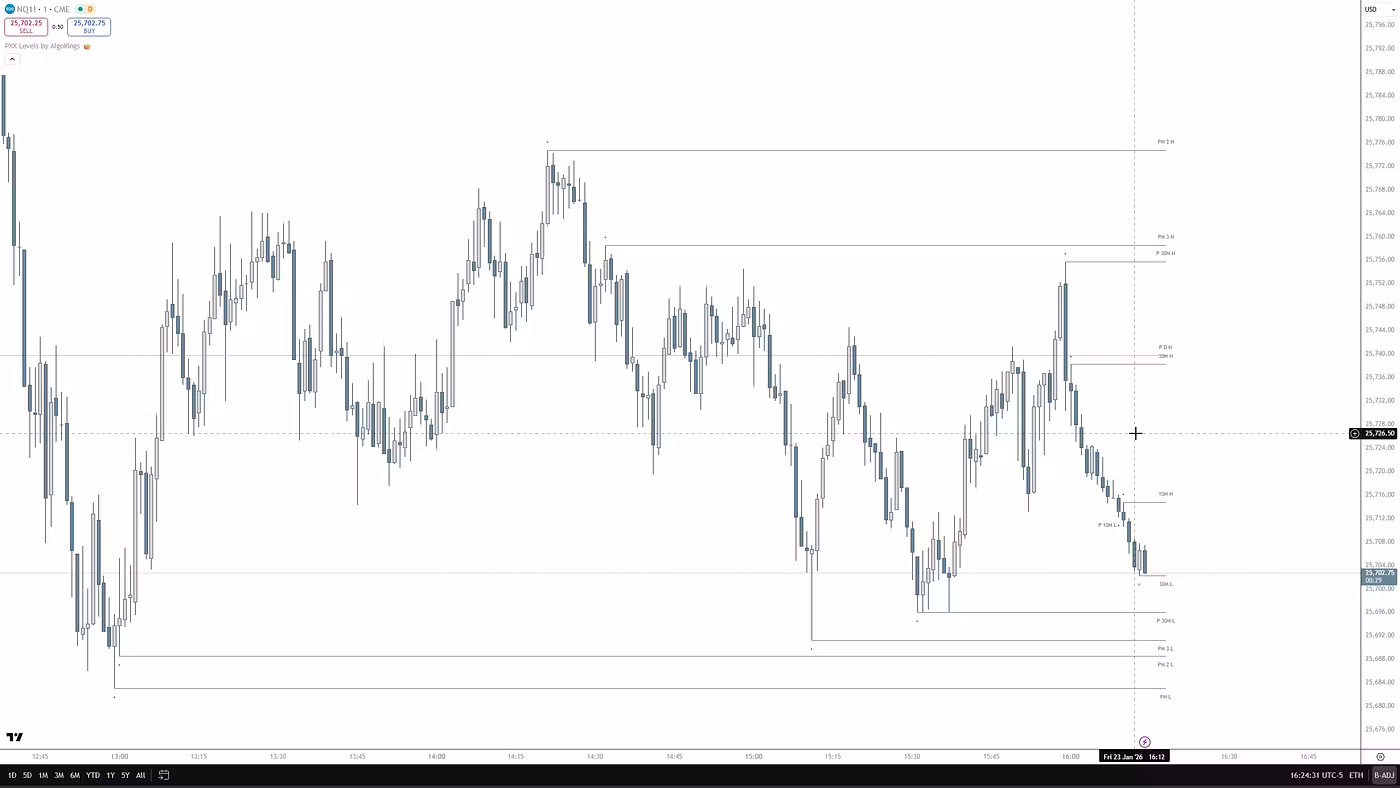
Premium and discount zones come from Smart Money Concepts (SMC), a framework popularized by the Inner Circle Trader (ICT). You start by defining a 'dealing range' from a significant swing high to a significant swing low, then split it at the 50% midpoint. That midpoint is called equilibrium and represents 'fair value' for the range. Everything above equilibrium is the premium zone (price is comparatively expensive); everything below is the discount zone (price is comparatively cheap). The calculation for equilibrium is simply (Swing High + Swing Low) / 2.
The reasoning is about order execution, not magic levels. Filling a large position pushes price, so the theory holds that institutional 'smart money' prefers to accumulate at a discount and distribute at a premium to secure better average pricing. For a discretionary trader, this translates into a bias: look for longs from the discount zone when structure is bullish, and shorts from the premium zone when structure is bearish. It is a probabilistic, discretionary framework, not a proven institutional footprint, and outcomes vary widely between traders.
Defining the range and drawing the zones
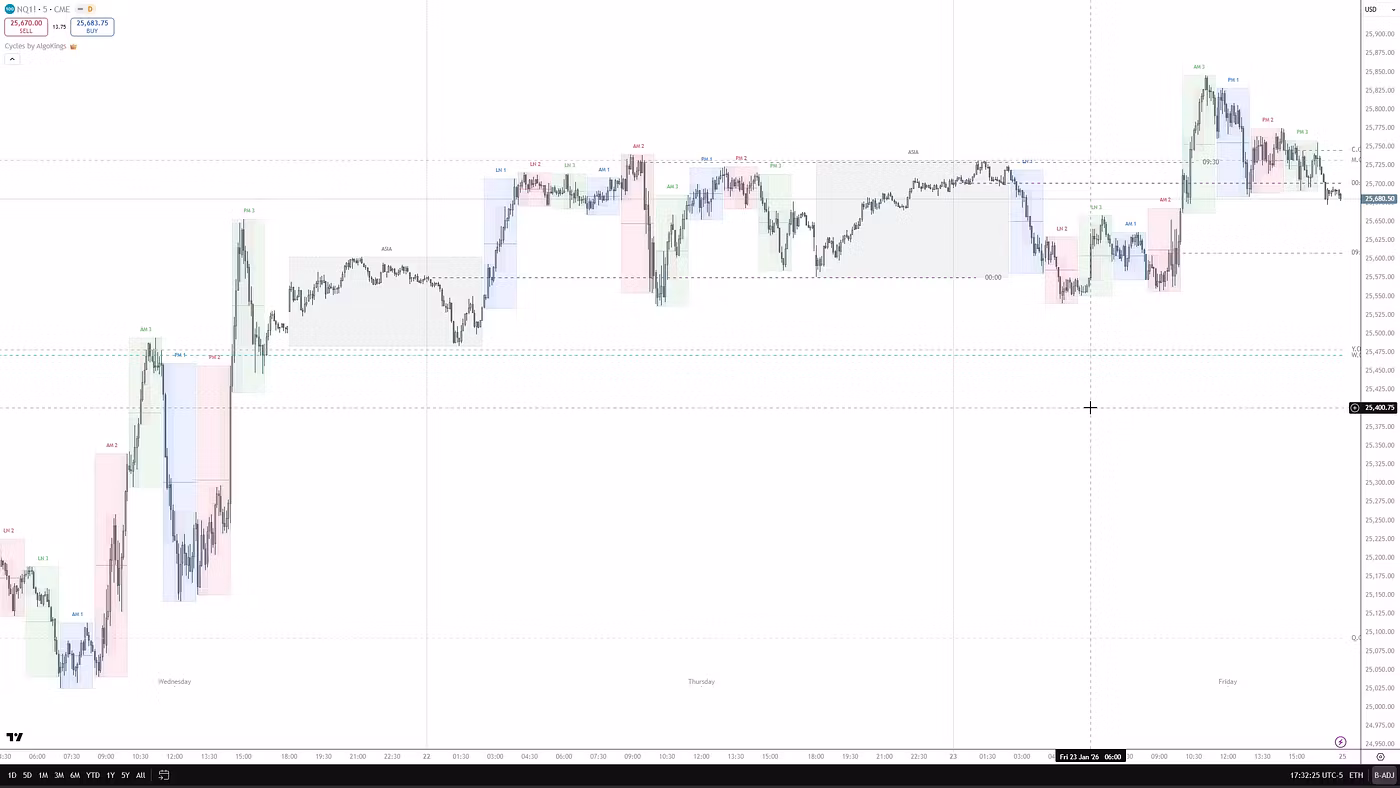
The single most important step is choosing the right range. Anchor it to significant external swing highs and lows that produced a clear reaction, not to minor internal swings or small consolidations, which distort where fair value sits. On TradingView, most traders use the Fibonacci retracement tool: for a bullish range, anchor from the swing low up to the swing high; for a bearish range, anchor from the swing high down to the swing low. The 0.50 line marks equilibrium, the discount half sits on the side nearer the low, and the premium half nearer the high.
One common misconception worth clearing up: 0.50 equilibrium is a midpoint convention, not a true Fibonacci ratio. The genuine Fibonacci retracement ratios are values like 0.236, 0.382, 0.618 and 0.786. Equilibrium is just the halfway value divider for the range, so treat it as a 'cheap vs expensive' boundary rather than a support or resistance line that price should bounce from.
Optimal Trade Entry (OTE) and why the midpoint is weak
Entering right at the 50% equilibrium offers little edge, because price is by definition at fair value there. In ICT methodology, the higher-probability pullback entries cluster deeper in the range, within the Optimal Trade Entry (OTE) band of roughly 0.62 to 0.79, with 0.705 often cited as the sweet spot. For a long, that band sits inside the discount half; for a short, inside the premium half. The benefit is mechanical: entering nearer a range extreme rather than at the midpoint places your stop just beyond the swing that defines the range and your target back toward the opposite side, which improves potential risk-to-reward. Treat OTE as a zone, not one exact price, so you are not filled prematurely before price reaches the deeper part of the band.
Using zones with confluence, not in isolation
Premium and discount is a filter, not a signal. A zone touch alone is not a reason to act. The framework is designed to be combined with other SMC tools, collectively called PD arrays (premium/discount arrays), which include order blocks and fair value gaps. The typical sequence is: confirm directional bias from market structure (a break of structure or change of character), wait for price to reach the correct zone, then look for a reaction at a PD array or after a liquidity sweep before considering an entry.
- Market structure first: only treat discount as a buy zone in bullish structure, and premium as a sell zone in bearish structure. Buying premium in a downtrend or selling discount in an uptrend gives poor risk-to-reward.
- Require confirmation: a change of character (CHoCH), break of structure (BOS), liquidity sweep, or a reaction at an order block or fair value gap inside the zone.
- Nest timeframes: look for agreement where a higher-timeframe discount aligns with a lower-timeframe discount for double confirmation of bias.
- Keep untouched zones, OTE areas and fair value gaps on the chart, since price may return to them as targets or reaction points later.
- Adjust for each instrument's volatility and character instead of applying one fixed percentage or ATR multiplier everywhere.
Risk management and honest limitations
The practical appeal of these zones is structure for your risk: a defined range gives you a logical place for a stop (beyond the swing that anchors the range) and a logical target (toward the opposite extreme or the next liquidity pool). That said, none of this guarantees an outcome. SMC and ICT concepts are not empirically proven, the same chart can be drawn differently by two traders, and repeatedly shifting the range until the midpoint conveniently fits is a way to fool yourself. Use premium and discount as one input within a tested process, size positions responsibly, and never treat a zone as a promise.
Frequently asked questions
Is the 0.50 equilibrium level an actual Fibonacci ratio?
No. The 0.50 equilibrium is simply the midpoint of the dealing range and a naming convention in SMC. True Fibonacci retracement ratios are values like 0.236, 0.382, 0.618 and 0.786. Many traders draw equilibrium with the Fibonacci tool for convenience, but 0.50 itself is a value divider, not a Fibonacci level.
What is the difference between the discount zone and the OTE zone?
The discount zone is the entire lower half of the range (below equilibrium). The Optimal Trade Entry (OTE) zone is a narrower band inside it, roughly 0.62 to 0.79, with around 0.705 as the commonly cited sweet spot. OTE is a refinement: a deeper pullback area where entries can offer tighter stops and better potential risk-to-reward than entering anywhere in the broad discount half.
Can I trade premium and discount zones on their own?
It is not advisable to treat a zone touch as an automatic trigger. Premium and discount work best as a confluence filter alongside market structure (BOS/CHoCH), liquidity sweeps, and PD arrays such as order blocks and fair value gaps. The zone tells you whether price is relatively cheap or expensive for the range; the confirmation tools help you judge whether a reaction is actually underway.
Risk disclosure
AlgoKings provides technical analysis indicators and educational material for informational purposes only. Nothing on this website is financial, investment or trading advice. Trading financial instruments carries a high level of risk and may not be suitable for every investor; you can lose some or all of your capital. Indicators do not predict future price movements and do not guarantee any outcome. You are solely responsible for your own trading decisions and risk management. Past performance is not indicative of future results.