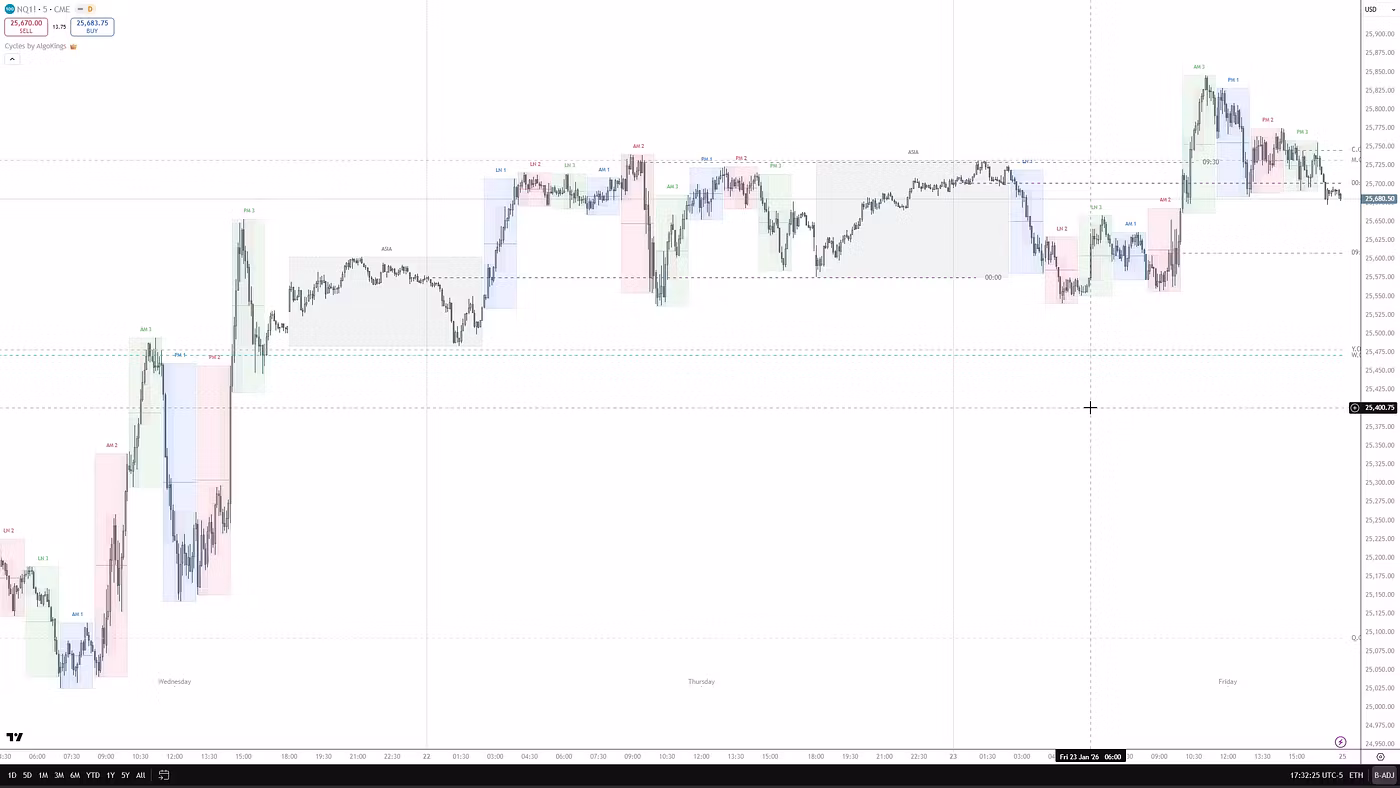
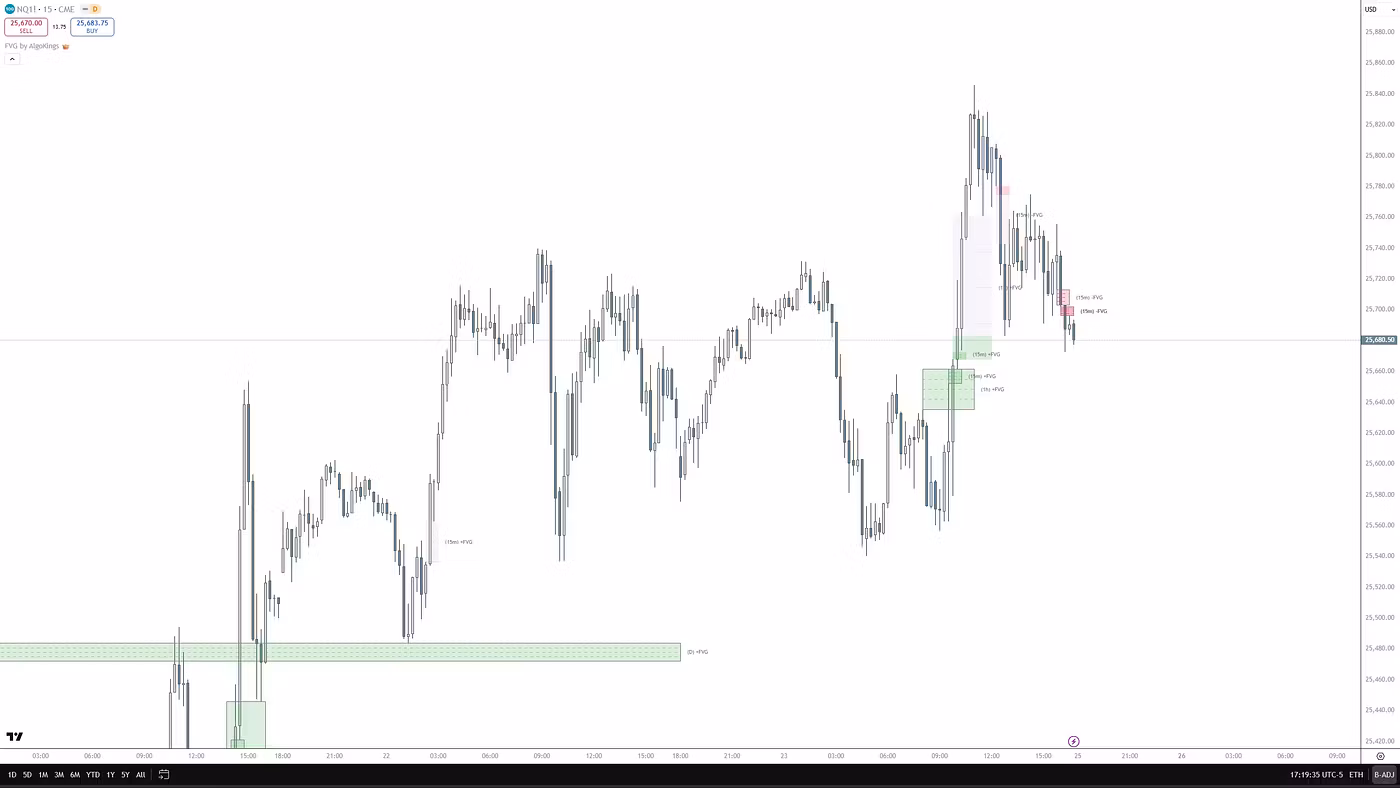
Mitigation Blocks Explained
A mitigation block is a Smart Money Concepts (SMC/ICT) price zone that marks a continuation setup: it forms after a Break of Structure on a "failure swing" — where price reverses without first sweeping the prior swing's liquidity — and acts as a return zone where leftover institutional orders are "mitigated" before price continues in the new direction. It is an analytical structure, not a buy or sell signal.
What a mitigation block is
In SMC/ICT, a mitigation block is the candle range left behind when a directional move begins without the prior swing high or low being taken out first. The idea — an explanatory model, not a verified record of order flow — is that some orders from the previous move were left unfilled or sitting in drawdown. When price later retraces to that zone, those orders are 'mitigated' (filled or closed at a better price), and price tends to continue in the direction of the move that created the block. 'To mitigate' simply means price returns to rebalance that area. Treat it as a structural read of the chart, not as a guaranteed reaction.
How it forms, step by step
- Failure swing: price fails to make a new low (bullish case) or new high (bearish case), so the prior swing point's liquidity is NOT swept.
- Break of Structure (BOS): price then breaks the opposing structure level, signalling a shift in direction.
- Displacement: a strong, often imbalanced move away from the zone — the cleaner the displacement, the more meaningful the block.
- Retrace: price comes back into the origin range, where the 'mitigation' is said to occur, before continuing.
Bullish vs bearish mitigation blocks
A bullish mitigation block forms in a falling market that fails to print a new lower low, makes a higher low instead, and then breaks structure upward — the down-candle range before the up-move becomes the block. A bearish mitigation block forms in a rising market that fails to make a new higher high, prints a lower high, and then breaks structure downward — the up-candle range before the down-move becomes the block. Draw the zone consistently: pick the relevant candle (or small cluster) and decide up front whether you mark body-to-body or wick-to-wick, then apply that rule every time so your levels stay comparable.
Mitigation block vs order block vs breaker block
These three SMC zones are easy to confuse, and definitions vary between educators — here is the distinction this article uses. An order block marks the ORIGIN of an impulse (the last opposing candle before a strong move). A mitigation block is about price RETURNING to rebalance leftover orders before continuing, and it forms on a failure swing — the prior swing high/low was never taken. A breaker block forms after that liquidity IS swept beyond the prior swing, then structure breaks back the other way. The decisive test is the liquidity sweep: no sweep means mitigation block; a sweep first means breaker. A mitigation block and a breaker can sit at the same price yet imply different underlying logic, so check whether liquidity was taken before you label the zone.
How traders use it (and how it fails)
Because it forms in the direction of the move that created it, a mitigation block is a continuation read, not a reversal against the trend. A common approach is to watch for price to retap the zone, place a protective stop beyond the block's extreme (not tucked tightly inside it, which invites premature stop-outs), and define targets toward the next liquidity pool or structural level — keeping the reward relative to that stop in mind. The setup only exists IF and WHEN price returns; many zones are never retested, and price pushing deep through the block rather than reacting can signal invalidation. Reliability tends to improve on higher timeframes and when the zone aligns with higher-timeframe bias plus confluence such as fair value gaps, displacement, liquidity context, and session timing. Forcing a 'block' with no clear BOS or displacement, or trading every low-timeframe zone, is where most failures come from. None of this guarantees an outcome — always manage risk and size positions responsibly.
Frequently asked questions
What is the difference between a mitigation block and a breaker block?
The liquidity sweep. A mitigation block forms on a failure swing where the prior swing high or low was never taken out, while a breaker block forms after that liquidity is swept and structure then breaks the other way. They can appear at the same price but rest on different logic, so always check whether liquidity was taken first.
Is a mitigation block a reversal or a continuation signal?
It is a continuation structure. It points in the same direction as the Break of Structure that created it, so it is read as a trend-continuation zone rather than a counter-trend reversal. It is an analytical concept, not a buy or sell signal, and price is not guaranteed to react.
What timeframe works best for mitigation blocks?
Higher timeframes are generally more reliable. Lower-timeframe blocks are noisier and fail more often, so many traders identify the zone on a higher timeframe, confirm it aligns with higher-timeframe bias, and add confluence such as fair value gaps and liquidity context before acting.
Risk disclosure
AlgoKings provides technical analysis indicators and educational material for informational purposes only. Nothing on this website is financial, investment or trading advice. Trading financial instruments carries a high level of risk and may not be suitable for every investor; you can lose some or all of your capital. Indicators do not predict future price movements and do not guarantee any outcome. You are solely responsible for your own trading decisions and risk management. Past performance is not indicative of future results.