Support and Resistance Explained
Support and resistance are price zones where a trend is likely to pause or reverse because buying demand (support) or selling supply (resistance) has historically been strong there. They are among the most fundamental concepts in technical analysis, but they describe probabilities, not guarantees.
What support and resistance actually are
Support is a zone below the current price where demand has previously been strong enough to halt a decline and turn price back up, acting like a floor. Resistance is a zone above price where supply has been strong enough to stop an advance and push price back down, acting like a ceiling. Both are expressions of the same underlying force, the balance between buyers and sellers, viewed from different sides of the market.
The psychology behind these zones is what gives them meaning. When price bounces off a level, three groups of traders take note: those who bought there and want to defend the level, those who missed the move and wait for a return to enter, and those holding positions who plan to take profit nearby. Their clustered orders are why a tested zone tends to react again, and why these areas are better drawn as ranges than as single exact lines, since markets rarely reverse at one precise price.
How to identify levels on a chart
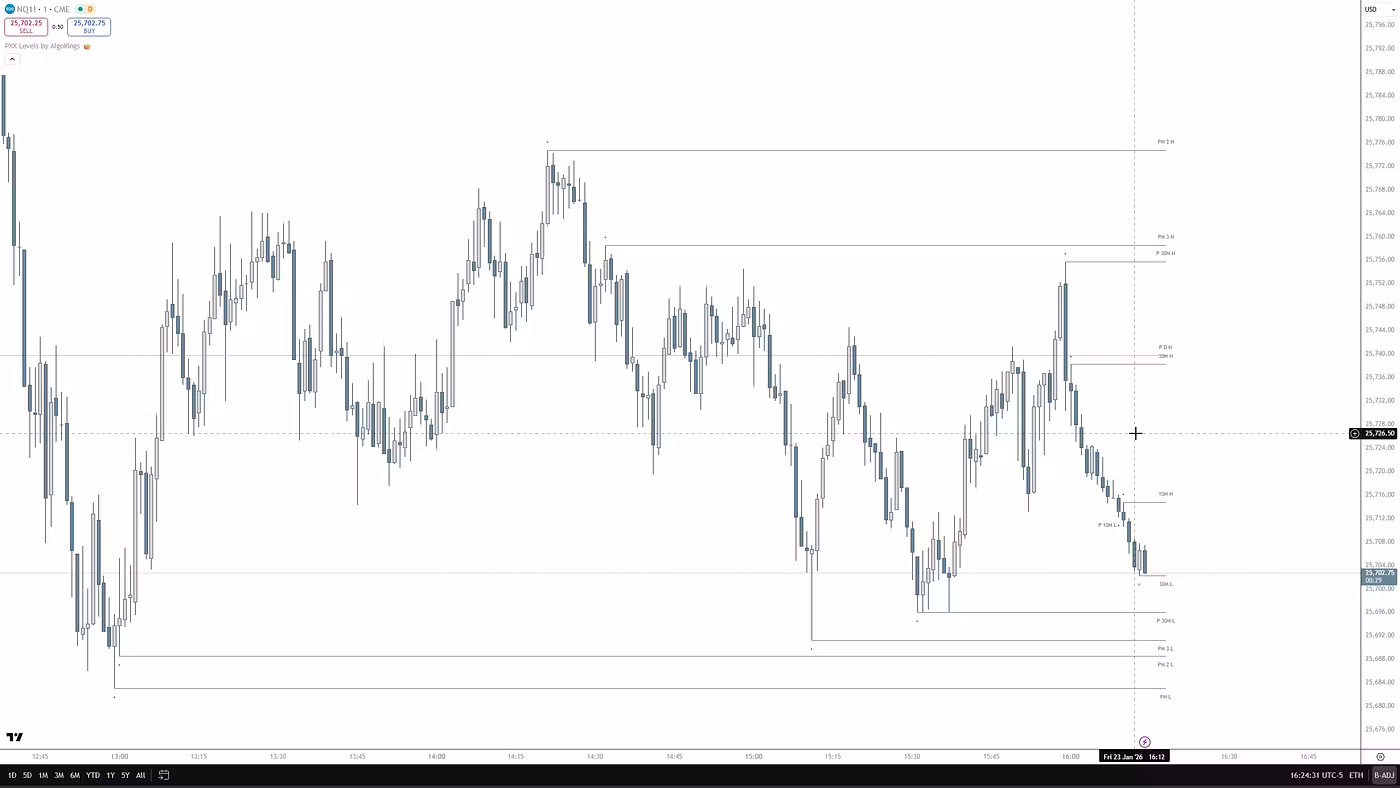
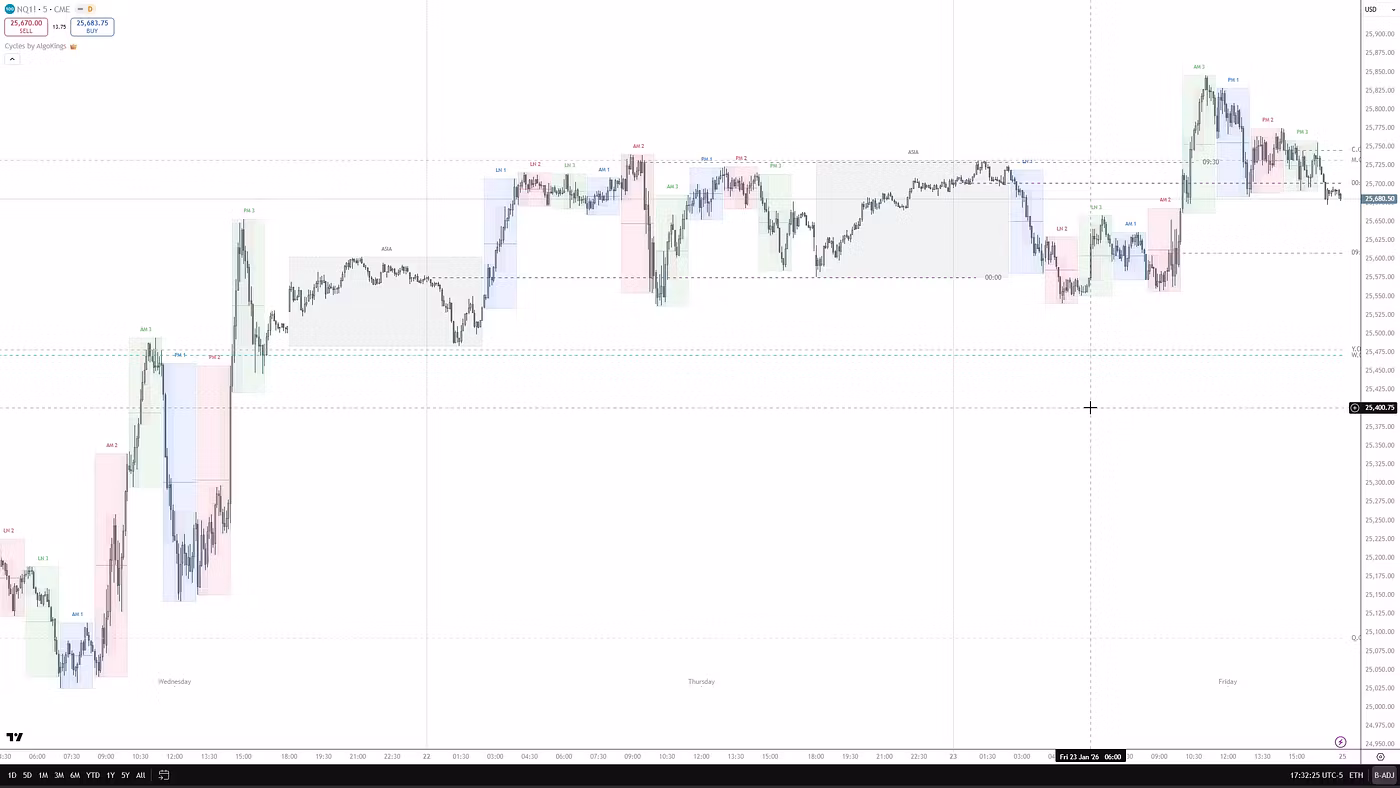
- Prior swing highs and lows, the most common and reliable starting point for horizontal zones
- Round or psychological numbers such as 100, 1,000, or 1.2000, where orders naturally cluster
- Trendlines that connect a series of rising lows or falling highs to show diagonal support or resistance
- Moving averages, which can act as dynamic support or resistance as price interacts with them
- Fibonacci retracement levels drawn across a significant swing, often watched for reactions
- Pivot points, calculated from prior price data to project potential intraday levels
A zone gains weight the more times price tests it without breaking through, and reactions backed by higher volume tend to carry more significance. Timeframe matters too: a level on the weekly or daily chart generally outranks one on a 5-minute chart, so checking multiple timeframes helps you tell a meaningful zone from background noise. Resist the urge to mark every minor swing. Keeping only the three to five most obvious zones usually produces a far cleaner, more usable chart.
Role reversal, breakouts, and the break-and-retest
One of the most useful principles is role reversal, often called the flip. When support finally breaks, it tends to become resistance, and when resistance breaks, it tends to become support. The logic is again psychological: traders who were trapped on the wrong side, or who missed the breakout, treat the old zone as a new decision point when price returns to it. Re-using a broken support as support, rather than recognising it has likely flipped, is a common and costly mistake.
Not every move through a zone is a genuine breakout. False breakouts, or fakeouts, are common, which is why many traders look for confirmation rather than acting on a single touch. A widely used approach is the break-and-retest: price closes beyond a zone, returns to test it from the other side, and only then is the move treated as confirmed, ideally with supporting volume or a clear price-action signal. Waiting for that retest filters out a meaningful share of failed breaks, though no method removes the risk entirely.
Using levels with risk in mind
Support and resistance are most often used to plan, not to predict. Traders typically frame potential entries around a zone (a bounce inside it, or a confirmed break beyond it), place stop-losses just outside the zone rather than exactly on the line where stop-hunts tend to occur, and set targets near the next significant level. Crucially, these zones work best as one input among several. Pairing them with price action, momentum readings, or moving averages, and confirming across timeframes, gives more context than any single tool used in isolation. Treat every level as a probability that can fail, size positions accordingly, and never rely on a zone holding as if it were a certainty.
Frequently asked questions
What is the difference between support and resistance?
Support is a zone below the current price where demand has historically stopped declines and turned price up, acting as a floor. Resistance is a zone above price where supply has stopped advances and pushed price down, acting as a ceiling. They are two sides of the same supply-and-demand dynamic.
Should support and resistance be drawn as lines or zones?
As zones. Markets rarely reverse at one exact price, so a thin line tends to cause missed entries and premature stop-outs. Drawing a small range around recent swing points captures where reactions realistically happen and gives more sensible places to position stops.
How can I tell a real breakout from a false breakout?
There is no certain way, but confirmation helps. Many traders wait for a candle to close beyond the zone and then for a successful retest of it from the other side, ideally with supporting volume or a clear price-action signal, before treating the breakout as valid. This filters out many fakeouts but cannot remove the risk.
Risk disclosure
AlgoKings provides technical analysis indicators and educational material for informational purposes only. Nothing on this website is financial, investment or trading advice. Trading financial instruments carries a high level of risk and may not be suitable for every investor; you can lose some or all of your capital. Indicators do not predict future price movements and do not guarantee any outcome. You are solely responsible for your own trading decisions and risk management. Past performance is not indicative of future results.